Install Scanner Plug-in (Windows)
We have recently updated our Scanner Module and the new plug-in is required to scan documents into your system. Please click on the "Download Plug-in for Windows" and follow the instructions to install the latest scanner plug-in.
Download the Plug-in and let's get started. Download Plug-in for Windows
Setup Process
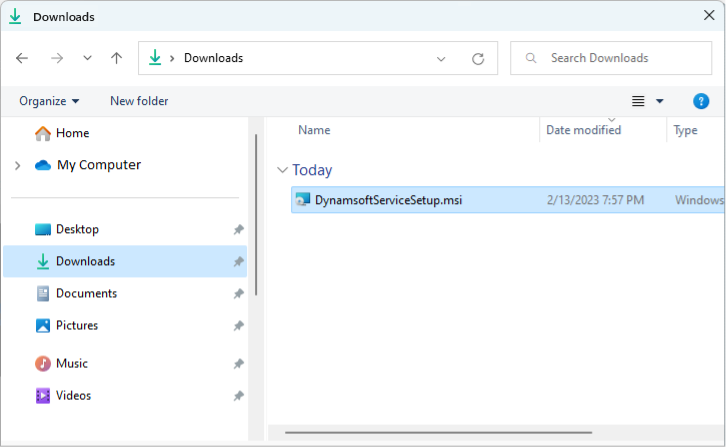
After downloading the package, Run the plug-in installer by double-clicking on the Microsoft Software Installer (.msi) file.
NOTE:
- (a) The setup file will typically download to your "Downloads" folder or you will be prompted to designate a location. Save the file and navigate to your designated folder.
- (b) If you have any issues installing applications using Microsoft Software Installer (.msi) files or you see the window pop-up below, click on "Change my app recommendation settings >" and it will take you to the location where you can change your setting "Choose where to get apps"
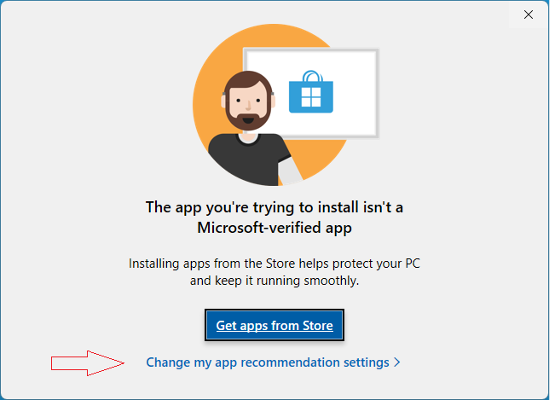
- (c) In the "Choose where to get apps" window, change the setting to "Anywhere, but warn me before installing an app that's not from the Microsoft Store" or any other setting that will allow you to install this plug-in.
- (d) If the "Choose where to get apps" setting is greyed out and you are not able to change the setting, please contact your IT Department or System Administrator for assistance.
The plug-in will launch an installation wizard. Follow the installation wizard steps (some screens will vary based on your install type – new or update).
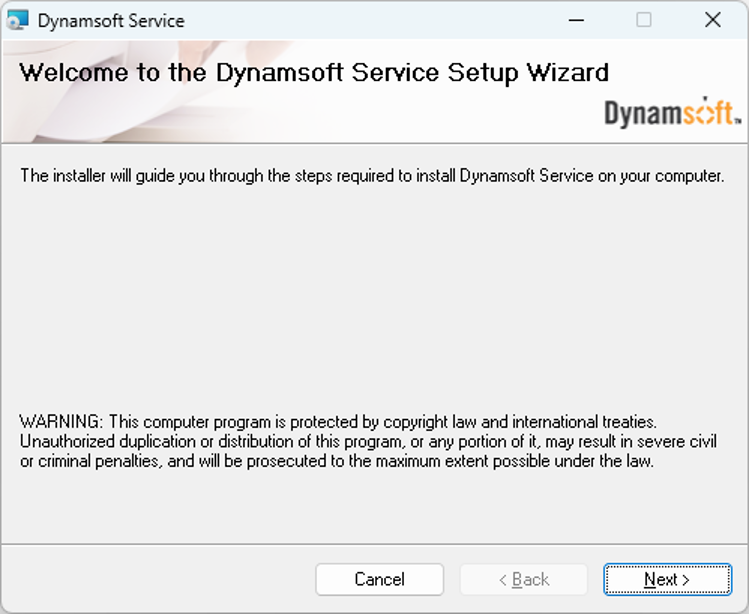
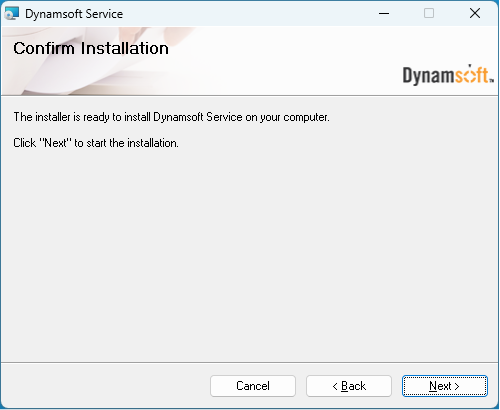
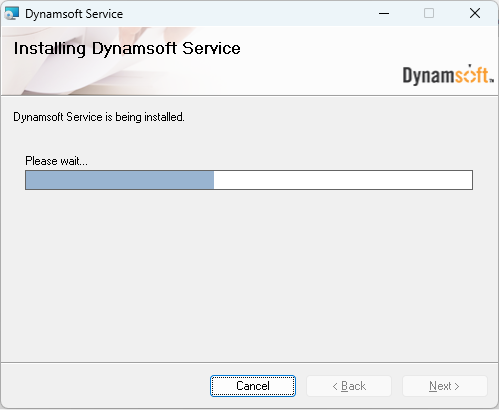
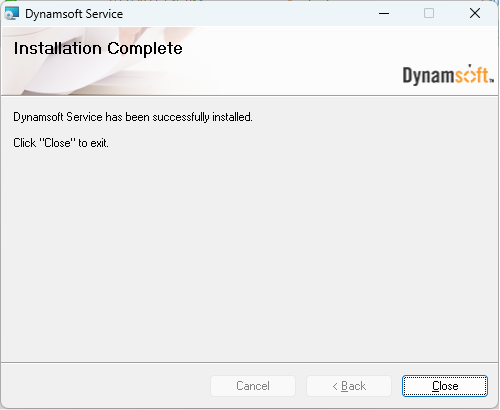
- Once the plug-in is installed/ updated, close the install window, and restart your CareCloud application to begin using the updated scanner module.
Install Scanner Plug-in (macOS Ventura 13.x or newer)
We have recently updated our Scanner Module and the new plug-in is required to scan documents into your system. Please click on the "Download Plug-in for Mac" below and follow the instructions to install the latest scanner plug-in.
Download the Plug-in and let's get started. Download Plug-in for Mac
Setup Process
After downloading the package, Run the plug-in by double-clicking it.
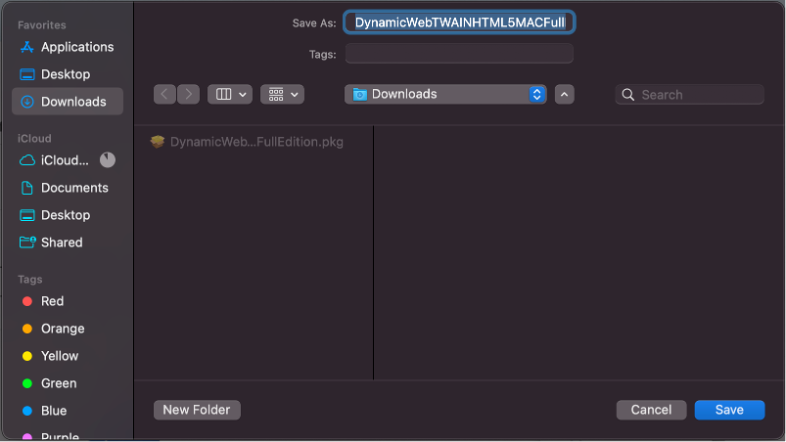
-
The plug-in will launch an installation wizard. Follow the installation wizard steps.
NOTE: If your current security settings do not allow you to install this application, please contact your IT Department or System Administrator for assistance.
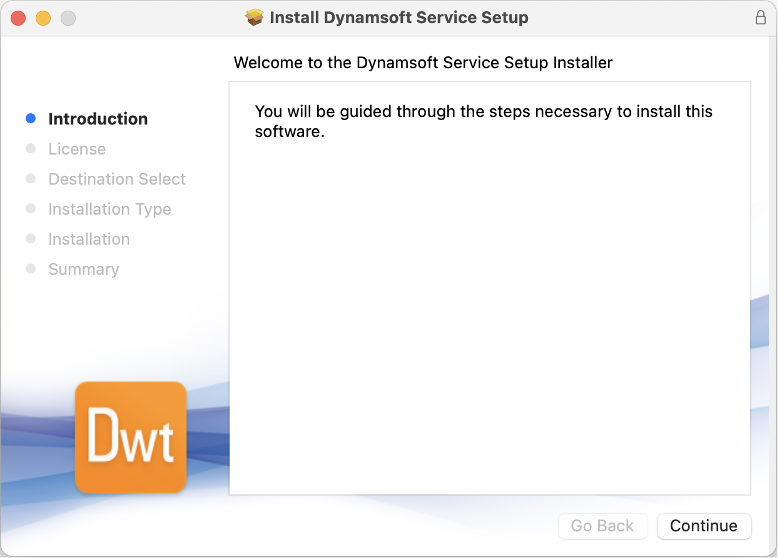
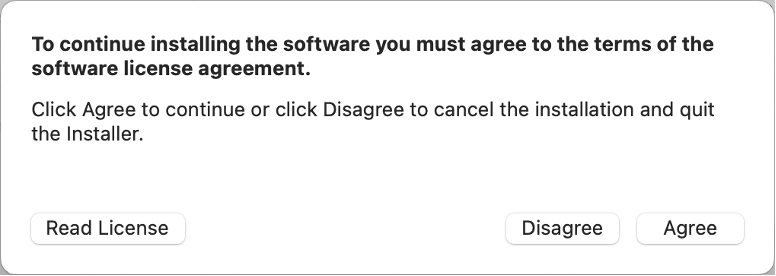
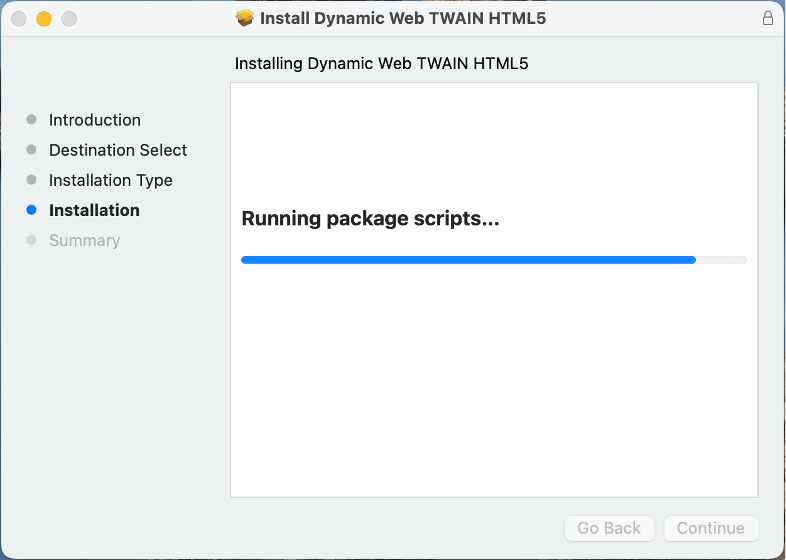
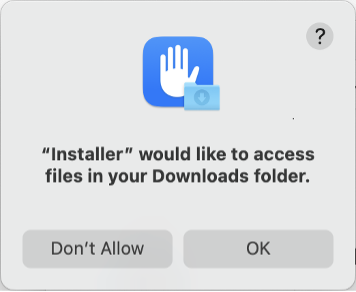
Click OK
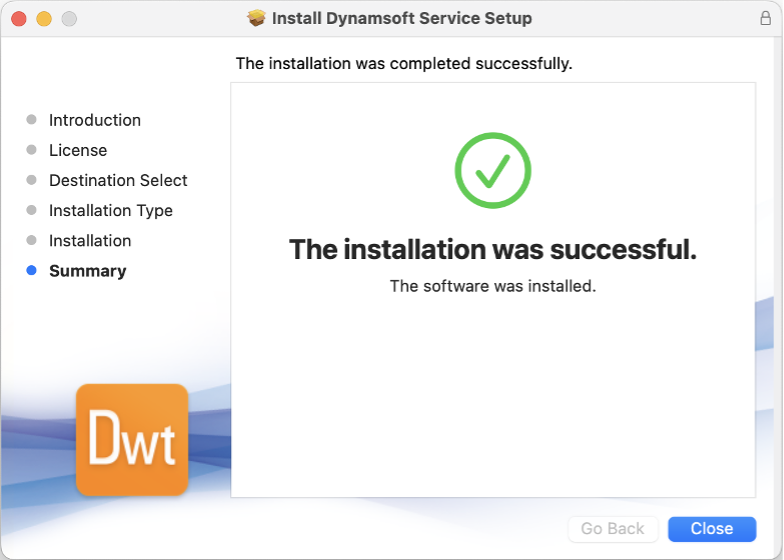
Once the plug-in is installed, you will need to restart your CareCloud application to begin using the updated scanner module.
Install Scanner Add-on (Internet Explorer)
If you've found yourself on this page, we're assuming you want to start using our new Scanner Module. This guide will walk you through the initial setup.
Note: This plug-in will only be installed for Internet Explorer
First, let's make CareCloud a trusted site. To do this open your Internet Options.

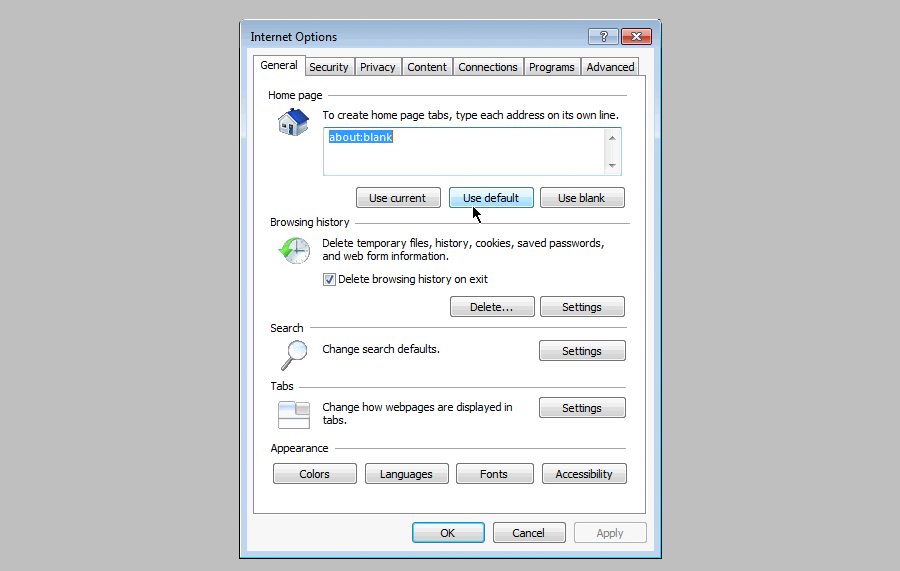
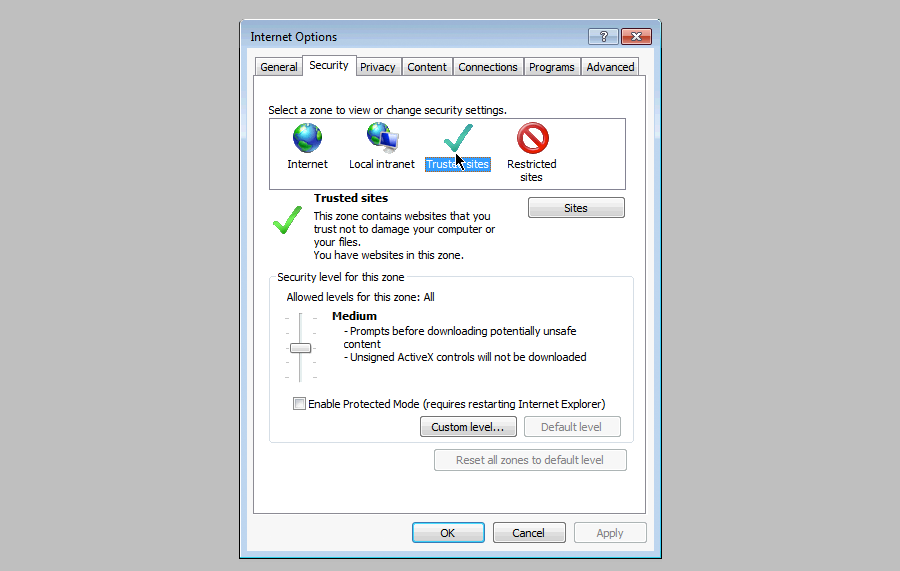
Next, let's select the Security tab; and select Trusted Sites and click the Sites button.
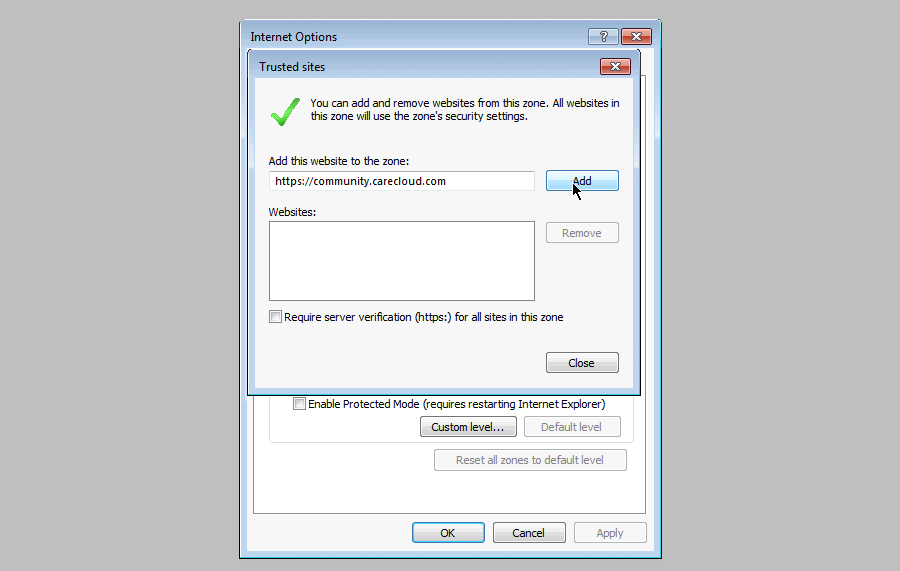
Click Add button.
You should see a prompt at the bottom of your screen that looks like the image below. Click Allow. Don't worry if you don't see that prompt as you may have already allowed it before.

Next you will be prompted with another message. Click Allow.

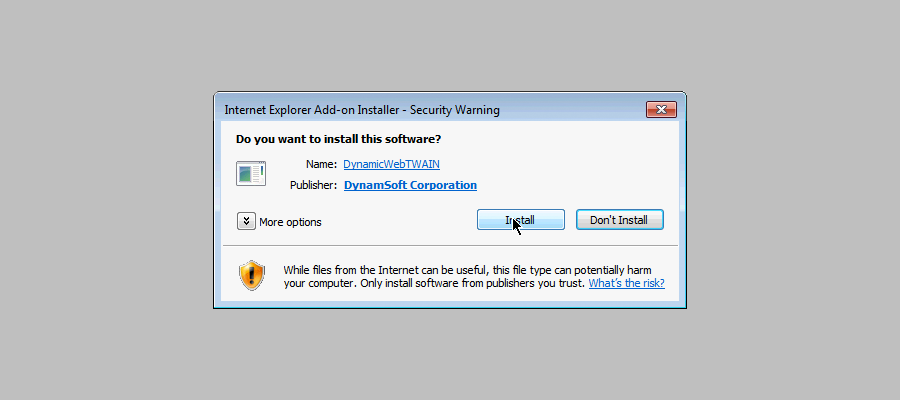
Next you will be prompted with an installation message. Click Install; the window should refresh and prompt you with a modal asking you to install the Internet Explorer Add-on. Click Install, if you a white box appears underneath the instructions you should be ready to use the new scanner module. Restart the browser and Enjoy!

Plug-in Installed
- Scanner Detected:
- Device Name(s): -


